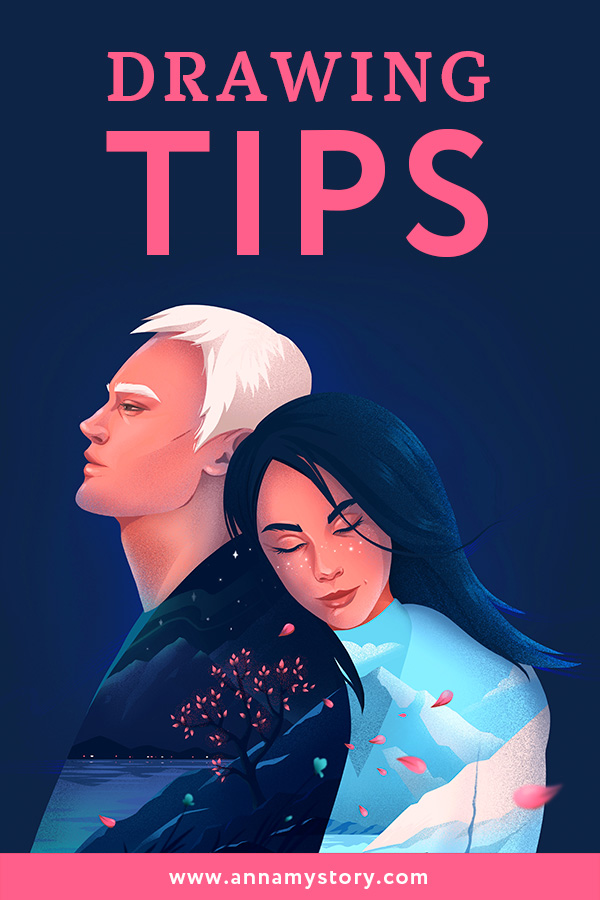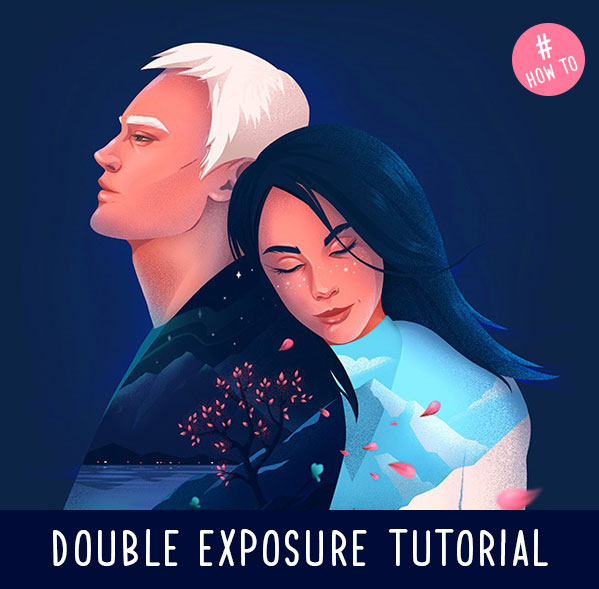
Double Exposure Portrait Tutorial
As an artist myself I know very well that we all have different approaches and favorite drawing techniques. So don’t treat these 8 steps as strict and obligatory rules to comply with. It’s simply the way I am drawing. It works best for me and it could work for you, but feel free to adjust it to your personal style of drawing. I hope you’ll find this guide useful and implement new stuff to your process.
This is a comprehensive but easy to follow tutorial on how to draw Double exposure portraits. If you were looking for a creative process walk-through, you can use these tips to create a cool double exposure art. I’m going to use my illustration of a romantic couple as an example for all stages.
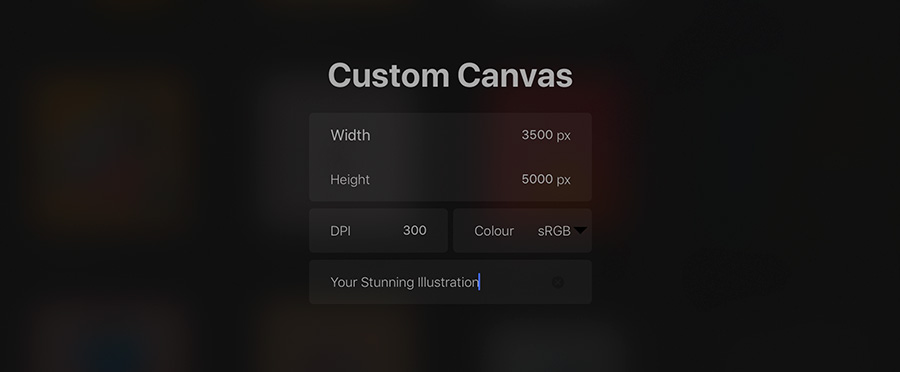
Step 1. Setup
I have created my illustration in Procreate app on iPad, but you can exercise the same process in any other digital drawing program i.e. Photoshop and its free analogs. (If you are interested in Procreate specifically I’ve got an overview of this app with all the pros and cons here).
The first thing I do when starting a new artwork is making sure my canvas size is big enough. Ideally, you want to have it around A3 size with 300 dpi resolution (the printable quality). So that you’ll be able to make a nice print of your work afterwards.
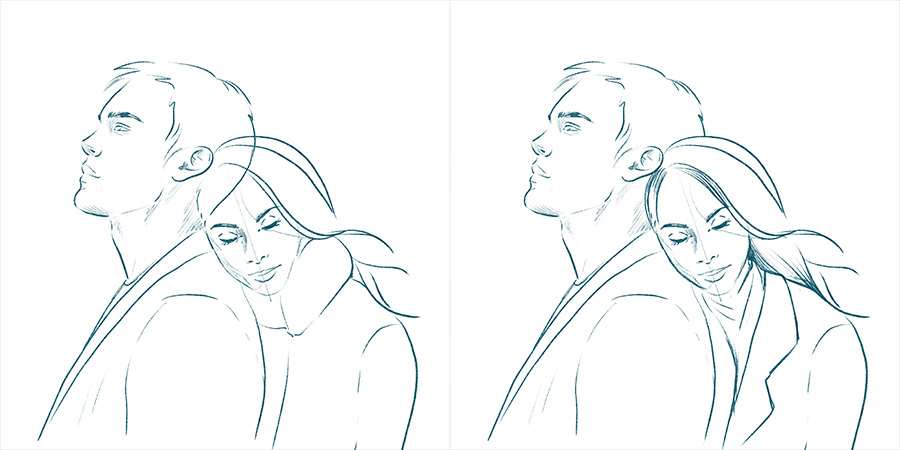
Step 2. Basic sketch
Even before you start drawing your sketches, it’s important to decide what kind of emotion you want your work to convey. Will it be a serene scene or expressive action? Will your character be dreamy, sad, or may be cheeky? This will affect the pose and face expression greatly.
I’ve already decided that I want to draw a romantic couple. Because I want to have enough space for double exposure effect, they both will be wearing loose autumn clothes without bare arms.
I sketch with thin brush (mine imitates a simple pencil but you can use the one you are comfortable with). My advice is to use several of layers for different elements. I used 2 separate layers for the boy and the girl to have an opportunity to easily tweak their position and size a bit (and also change the fashion 😊)
Step 3. Coloring
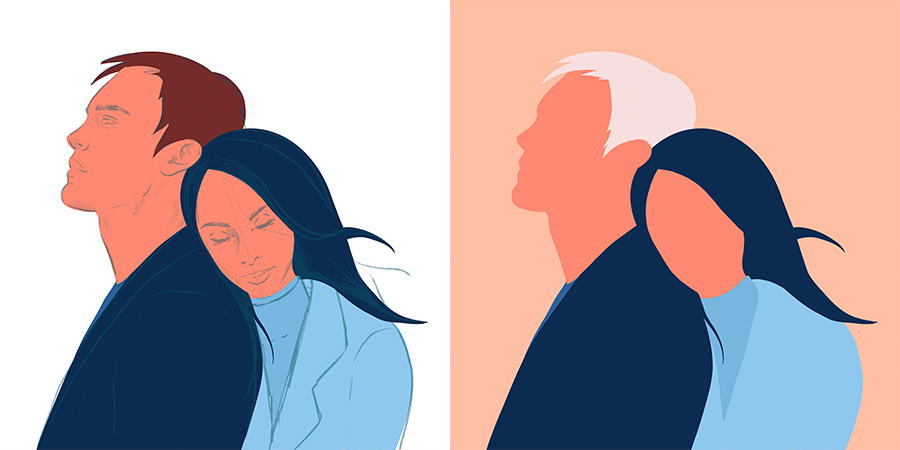
When you are happy with composition and the way your drawing is placed on the canvas you can start adding colors.
At this stage I might still be not 100% sure what colors to use. Experiment, try color blocking if you want (choosing colors that are opposites on the color wheel and pairing them together – Wiki). In my example, I wanted one character to represent a night scenery, and the other one to be a daylight. Therefore, shades of blue with complimentary soft skin tones seem to be a good choice.
I noticed that many artists start really messy and then make the drawing cleaner in the process. I personally prefer to have clean basics from the start. This way there will be no unnecessary lines and you’ll be able to change your colors easily. It saves you some time as well.
Step 4. Defining the faces
After the basic coloring is done – start adding details to the faces. I usually try to stay close to my initial sketch. I keep it in the upper layer so it’s easily accessible. Simply toggle its visibility on/off when you need to check with it.
I like to use a thin brush imitating soft pencil for the facial features and a big slightly textured brush for shadowing. As I’ve mentioned before it comes down to your art style, so try different variants.
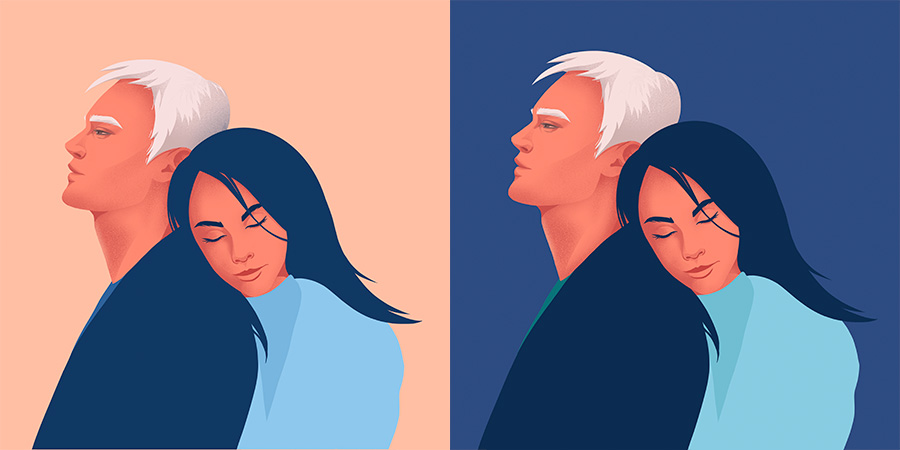
Step 5. Lights and shadows
Think how you want to add lightning sources to your composition. It will influence the way you add details to faces, how sharp the shadows are gonna be. As you can see, I decided not to use distinctive lightning source as the location and time of the day did not matter in this illustration. Thus, the lights and shadows are subtle and gentle.
In my case of diffused light, I made areas under the chins and near hairlines darker using a reddish tint of the basic color. If you want to add bright light the shadows must be clear and crisp.
On this stage, I also add extra details to the characters’ hair to show its volume.
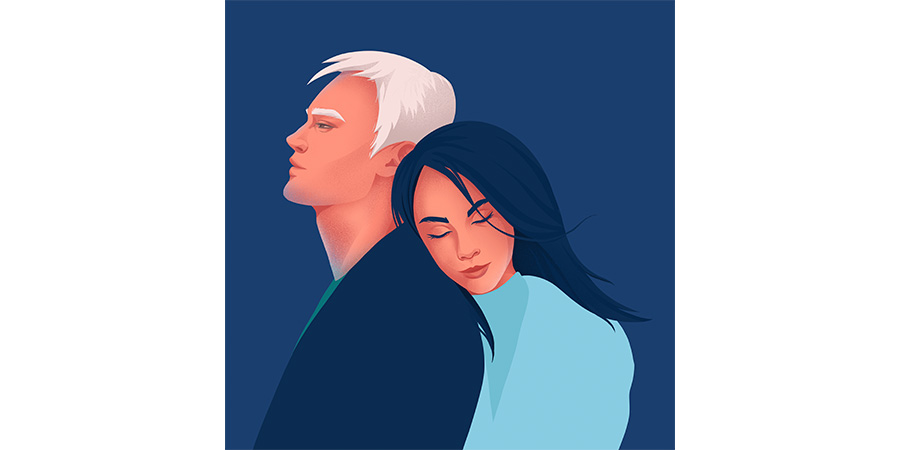
Step 6. Double exposure
There are no precise rules how to fit a landscape into a figure. However, I would recommend including the elements of the same tone to prevent your color blocks from falling apart. Therefore, I’ve made dark blue landscape on the left and blue mountains on the right.
When I’ve changed background color to dark blue my faces started to appear too bright because they don’t belong to this environment. So I added a blueish tint to both faces to balance the colors. It’s an easy and useful trick to make the illustration more matching and harmonious.
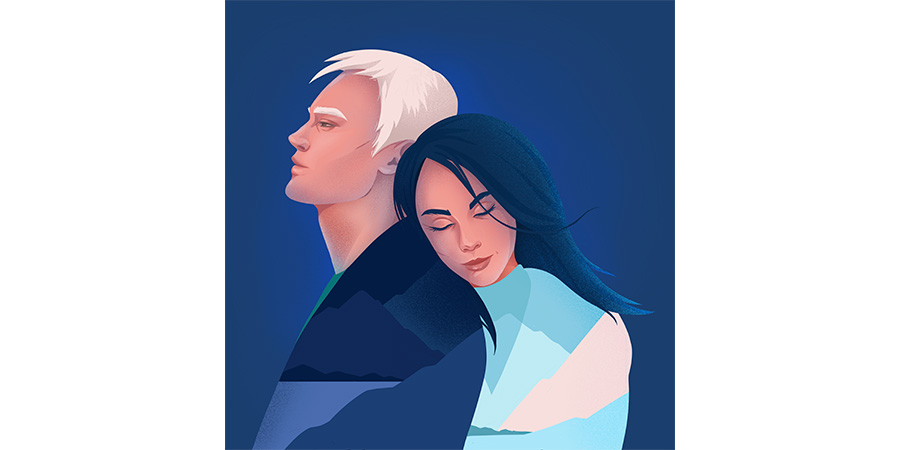
Step 7. Adding details
Now probably the most fun part 😊 It’s time to add details inside the inner picture.
The main advise – do not overcomplicate the inner element with too many details. It can break the integrity of the whole composition. Also keep in mind that staying in line with few colors will usually benefit your image. Unless you want to highlight the detail and concentrate all the attention on it.
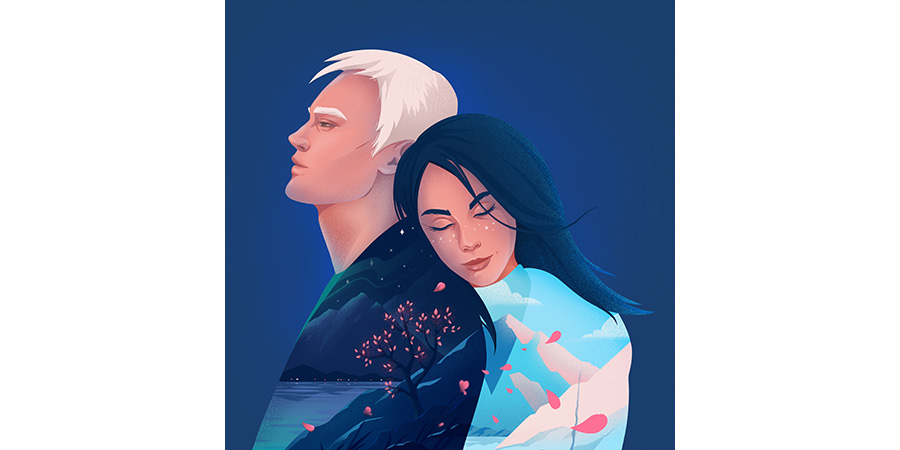
I decided to add some romantic details like a pink tree and flying leaves that will unite two characters’ “inner worlds”. Pink in this case is a contrast color to both dark and light blue and is clearly seen on the background.
Step 8. Final touches
I can keep adding small details forever (like highlights on the hair or blur effect on the flying leaves). But you need to know when it’s time to stop and let your perfectionism go)
The last (but not the least) thing I really enjoy doing is playing with contrasts/saturation of the finished illustration. Changing some adjustments really can add depth to your artwork and make it pop out more.
In the end, this is the stage when you evaluate the results of your work, admire and appreciate it J So no need to hurry up. On the contrary, take a break, go for a walk, watch a movie, have a dinner. Resetting your mind will help looking at the illustration from the fresh point of view.

Conclusion
If you are going to draw your first double exposure illustration – start with something simple. I hope my creative process walk-through will help you with that. Remember it all comes with practice. Moreover, there is always room for fun experiments!
As always – if you enjoyed the article feel free to share the knowledge, leave your comments and SUBSCRIBE to my newsletter 🙂
Save in Pinterest for later 😉